
If the recordings you’re capturing with a microphone, interface, and computer sound a little sterile, like you aren’t getting enough space, volume, or depth, you may want to add outboard signal processing equipment. Adding these tools to your arsenal are the next step towards building a professional analog signal chain.
There are tons of effects included in “outboard”, but the three main types of signal processing gear we’re going to cover here are:
Microphone Preamplifiers
Compressors / Limiters
Equalizers
Why just these three to start? Most pros would agree that microphone preamplifiers (pres), equalizers (EQ), and compressors make up the foundation of a professional audio signal chain.
Let's dive into how to build that signal chain.
Start With a High-Quality Analog Preamp
When it comes to recording, we’re mixing art and science. There aren’t always ‘rules’ here, but when it comes to creating a foundation for good tone, placing the mic pre first in the signal chain is as close to a rule as we’re going to get.
Adding a discrete analog preamplifier between your condenser microphone and your audio interface will accomplish three things:
You get a lot more usable gain. It’s important to note that audio interface mic preamps do raise the gain to a proper operating output, they are often unable to deliver enough gain without creating audible unwanted noise. This is common even on expensive interfaces, as most units are unable to deliver more than 60db of gain.
You get a lot less noise. It’s important to recognize that although some professional audio interfaces today can push 60db of gain, there will likely be audible noise in the signal. If you’ve ever turned up the gain on your interface just to hear a hiss or other unwanted noise, you have experienced this issue.
3. The ultimate benefit of a mic preamp is increased character and/or tone. Analog mic preamps intended for professional audio recording are often built to impart a little tonal character on the signal. You can choose a mic pre based on the type of sound you're trying to achieve. Some genres like alternative rock and folk demand more warmth and “darker” tones, where pop and modern country might require a “cleaner” sound with more headroom. A mic pre can help deliver a richer, more intentional character to your recordings. Even “clean” analog mic pres allow you to get more character out of your microphone that you might be missing out on from plugging directly into an audio interface. Experiment with different tonal palettes like American voiced mic preamps vs. British voiced mic preamps.
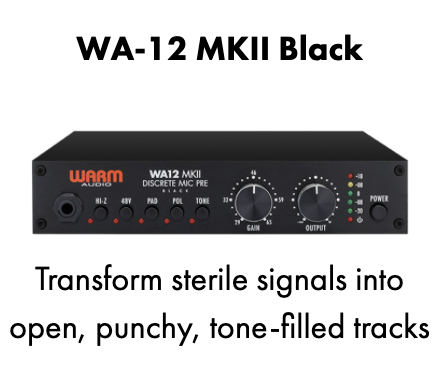
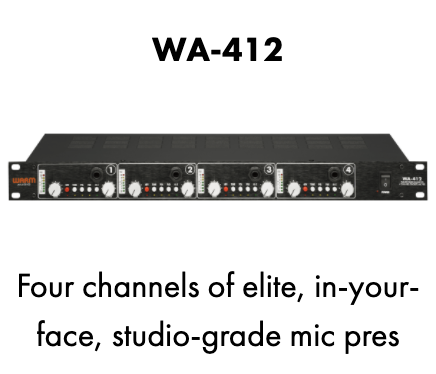
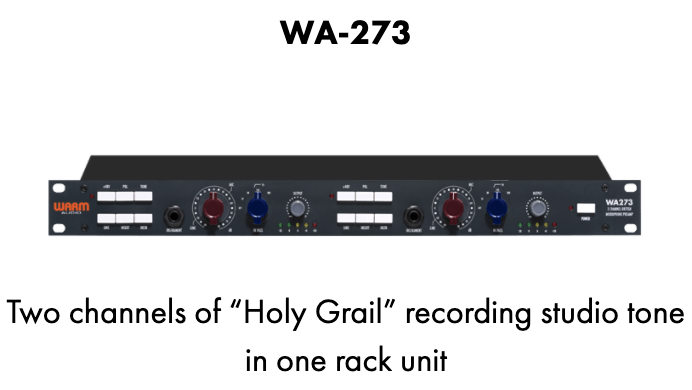
Here are a few preamps that capture the classic, punchy low end and smooth top end associated with the rise of Rock n’ Roll:
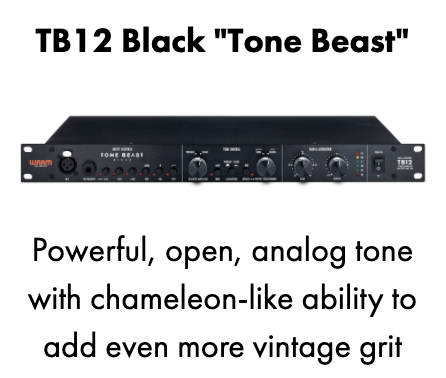
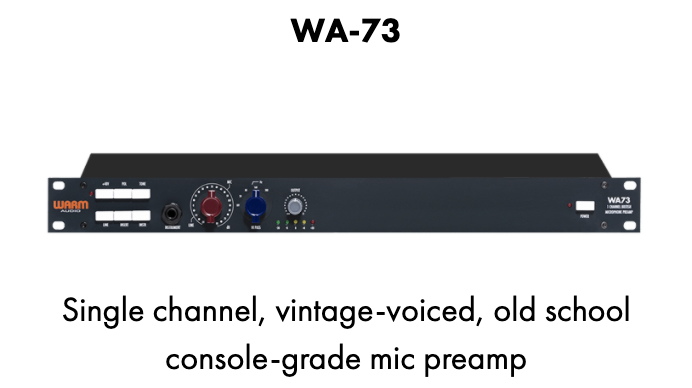
Alternatively, if you’re going for absolute vintage analog tone with rich depth and darker tonal character, these preamps might be the better fit:
Now that we’ve set the levels and dialed in our base tone, let's move on to EQ and compression.
Preamp Acquired. What do I add next?
In the spirit of making great recordings, we can all be a little guilty of searching for direction on how to get the best sound possible. Sometimes we want the experts to just tell us what to do or give us a preset that we can run with. But unlike the more hard and fast rule that we should start with a preamp, deciding between compression and equalization after the mic pre isn’t as scientific.
First - a brief description of what EQ and compression actually do to your signal -

With equalization (EQ), you are prioritizing (boosting) or de-prioritizing (cutting) frequencies. When you hear someone say they are “boosting 10k”, they are emphasizing the treble or “highs” in an audio signal path.

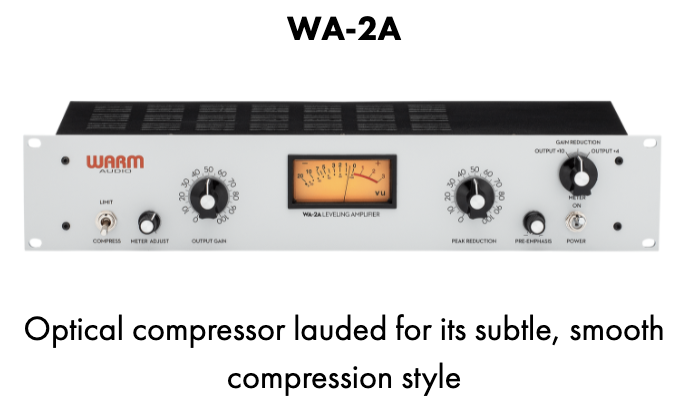
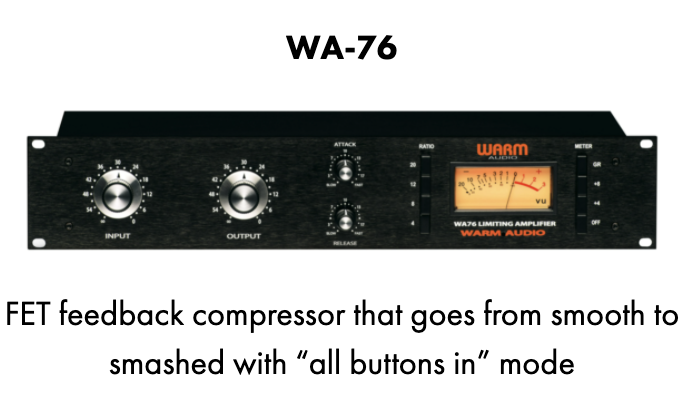
Compression is part of the dynamics processing family of effects. Performances naturally vary in volume and sometimes we need to make the volume more balanced in an audio signal. When a signal is compressed, you are reducing the volume of the louder parts of the signal.
Building the Chain
Now that we know what EQ and compression do, what’s the difference between EQ before compression and EQ after compression? One way to help decide what’s best is to consider the order of operations: Would you rather address varying volume (dynamics) first and then adjust frequencies? Or, would you rather address EQ emphasis first and then manage the dynamics of the signal second?
Pre-EQ - EQ first, followed by compression
Say you have a solo vocalist who performs with varying dynamics. We’ll call this the “focus on me” sound. Think of artists that perform with great variance in volume and delivery; vocalists that record in a style like Adele, Christina Aguilera, or Alicia Keys where other instruments are truly incidental and arranged to accompany the main vocal. When we have a dynamic performance where we want to highlight the organic changes in volume, we don’t want to apply a lot of compression, we’re looking for “light” compression.
In this case, we want to send the amplified signal (from the mic pre) to the EQ first. We will use the EQ to emphasize the frequencies we want to highlight, and then move on to the compressor. Staging the compressor after the EQ can help you focus on how much you want to “squash” or preserve the dynamics of the performance. With the compressor last in our signal chain, we can apply light compression to preserve the organic aspects of our vocal tracks.
Post-EQ - Compression first, followed by EQ
Now let’s take the example of a female vocalist that has a different recording style and approach. We’ll call this the “focused” sound. Some recordings require a more balanced performance in terms of volume, tone, and sometimes even frequency (EQ). This is a style of vocal recording that has been used by Rihanna, Katy Perry, Pink, and Kelly Clarkson. One of the hallmarks of this different approach is that the vocal volume is very consistent, parts of the vocal performance do not vary greatly in terms of vocal register, and the accompanying instruments occupy more sonic space and a wider range of frequencies.
Staging the compressor before the EQ can help you tighten up that amplified signal first, ensuring that you manage any variance in volume and tonality as close to the source as possible. By addressing the change in dynamics first, we can send the most consistent signal in terms of volume to the EQ. With the EQ at the end, we can add final touches where we dial in whichever frequencies we want to highlight or deemphasize.
It’s Really Not a Science!
We’ve only scratched the surface of setting up foundational tones for professional audio recordings with outboard signal processing. There are setups where we use EQ before and after compression. Sidechain compression, where we link the compression effect to other performances on our track - like bass and kick drum. Expanders that raise the volume of dynamics, essentially the inverse of compressors. Noise gates, time-based effects, and much more.
Beyond starting with a proper analog mic pre, experimentation is encouraged! Scour the forums, check out the pros creating educational content on YouTube. There’s more quality content everyday helping folks get great sound.
One more thing, protect your gear!
Always consult product manuals for the gear you have to make sure you are properly using your equipment. Discrete analog audio gear often contains high voltage electronics and incorrect operation can damage other equipment in the chain if not used correctly.